
Granny Square Blanket Pattern

Overview:
Skill level: Beginner
Yarn weight: Double knit
Hook size: 4.5mm
Stitches used UK terms): slip stitch | chain | double crochet | treble crochet
Sometimes, crochet stops being fun, it feels like too much effort, and all the joy is gone! Sometimes I don't want to crochet, but deep down I really do want to, but I have just lost the love of it.
So I stopped and thought, what brings joy to crochet for me? And well, it is the colour I can use, the repetitive stitches which chill me right out and relaxes me. It is a form of meditation, just like someone who can run without listening to anything and be in the moment. I am in the moment when I crochet. I wanted to find this again. So I decided to make a granny square blanket. Super popular, easy once mastered, and a simple joy to crochet.
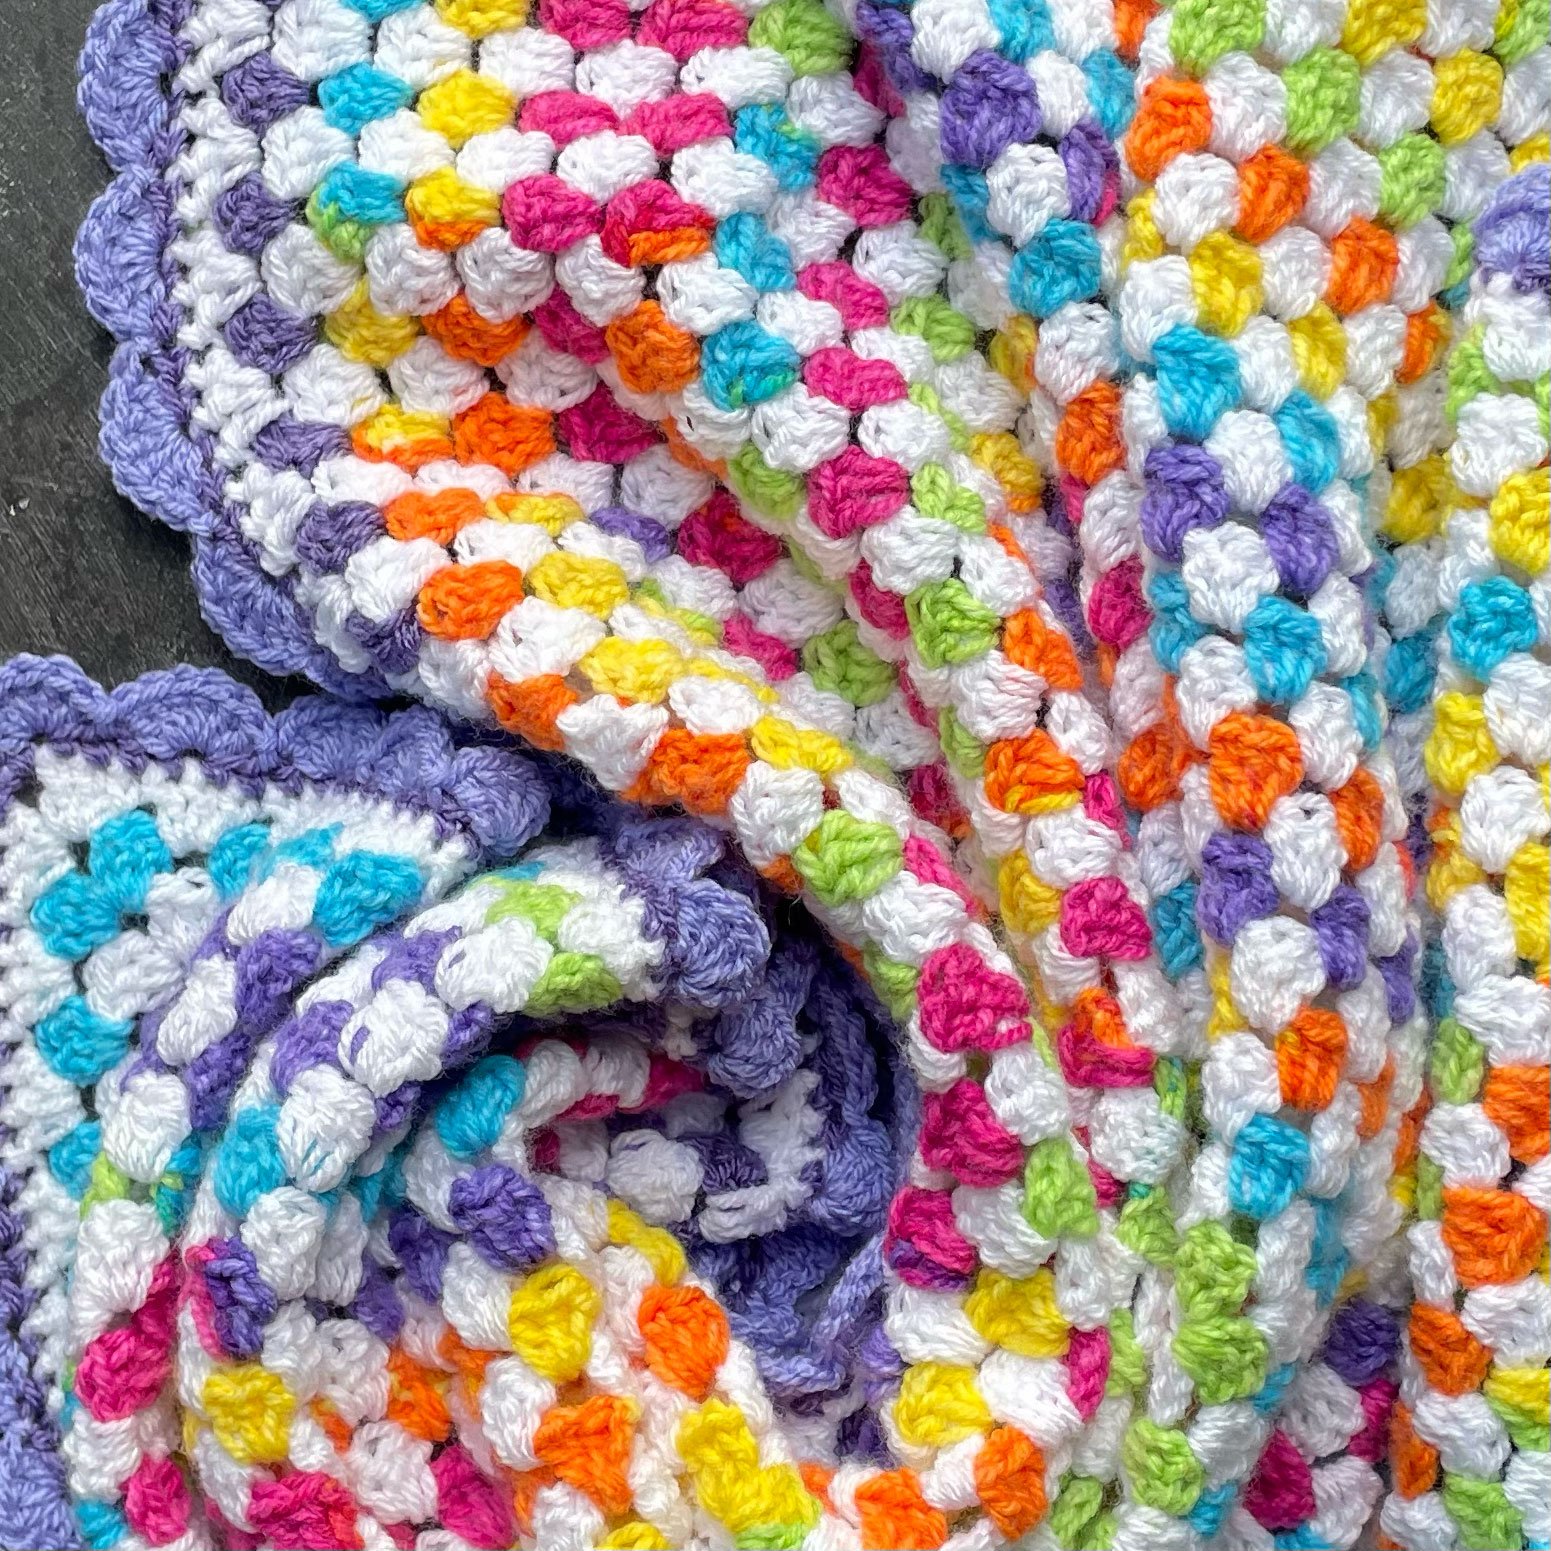
Here is my final make. To the seasoned crocheter, it is a granny square blanket with a scalloped edge. To the inexperienced crocheter, well, here is how I made it.
Materials
Yarn A: 1 x 100g ball Stylecraft Merry Go Round Dk - 3142 Rainbow
Yarn B: 1 x 100g ball Stylecraft Special DK - 1001 White
For the edging I used left over Stylecraft Special DK yarn I already had and picked colours which matched those already used. The two colours I used are:
Yarn C: Stylecraft Special DK - 1277 Violet
Yarn D: Stylecraft Special DK - 1082 Bluebell
4.5mm hook size
Stitches (UK)
slst: slip stitch
ch: chain
tr: treble
Notes
Written in UK terms.
Working “in the round”.
Turn your work to alternate sides after each round, which is also after each colour change.
Chain 2 in the corners.
Do not add any chains between the 3tr clusters on the sides.
Pattern
Foundation Ring: Using yarn A, ch3 and slst into the first ch. This is your foundation ring.
Round 1: ch3, then work the following into the foundation ring, 2tr, ch2 [3tr, ch2] 3 times, slst to the top of the starting ch3. Fasten off.
Round 2: Using yarn B, slst into one of the corner spaces. Then ch3 and work the following into the corner space 2tr, ch2, 3tr. Into the next space work 3tr.
Continue building each round by using the following guidelines:
Attach new yarn on each round, alternating between yarn A and yarn B.
Attach the yarn in any corner space, then ch3, 2tr, ch2, 3tr in the first corner space.
3tr in each space along the sides.
3tr, ch2, 3tr in all other corner spaces.
slst to the top of the starting ch3. Fasten off.
The crochet diagram below shows you how the pattern is created, both UK and US terms are used in the diagram.

Keep on with the rounds until both balls of yarn are used up, and you are unable to get another complete round.
Border
Using any spare DK yarn you have, we can now start on the border. I used the following:
Yarn C: Stylecraft Special DK - 1277 Violet
Yarn D: Stylecraft Special DK - 1082 Bluebell
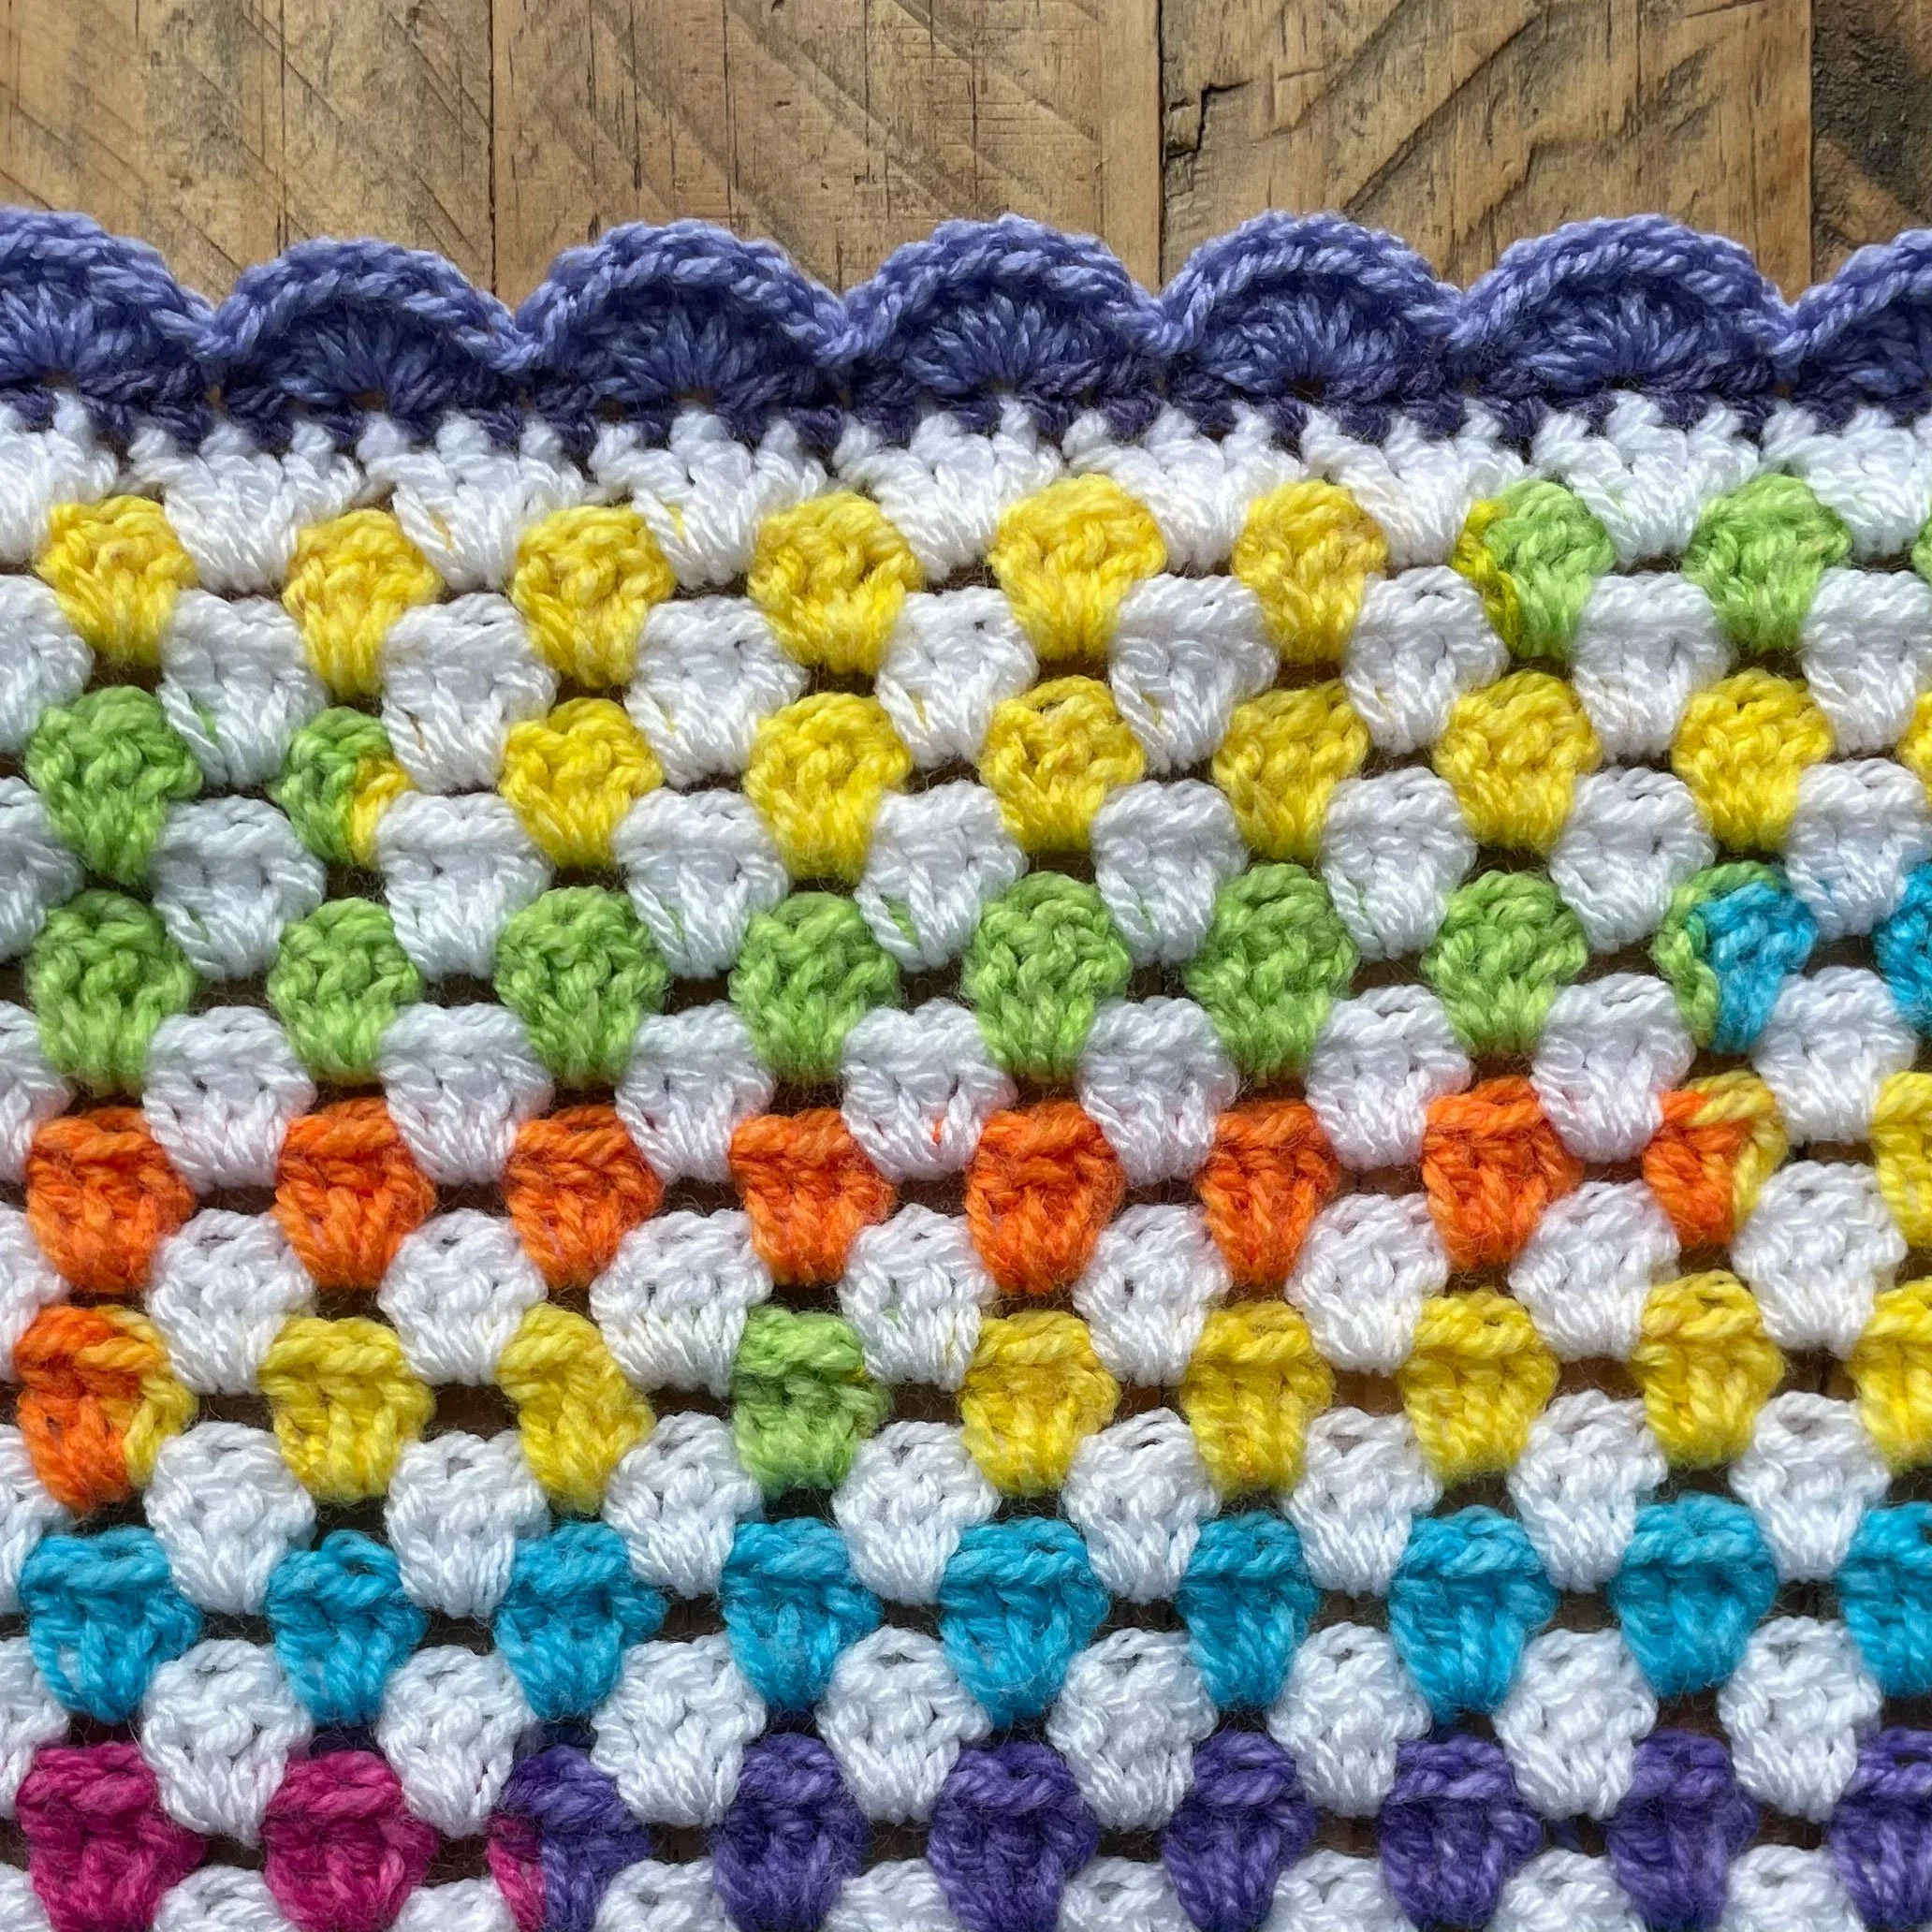
Border Round 1: Attach Yarn C to any edge of the blanket, and dc all round the edge, in the corners work 3dc. Slst to the first dc and fasten off.
Border Round 2: Attach Yarn D to a corner dc stitch, we will now work the scallops all round the edge of the blanket. * Skip a stitch and 6tr in the next stitch, skip a stitch and slst into the next stitch * repeat between * and * until you have worked your way all around the blanket. Slst to finish and fasten off. Weave in any loose ends.
The crochet diagram below shows you how the scalloped edge is created, both UK and US terms are used in the diagram.

If you do make a version of this blanket, please use #happygohooky and tag me @happygohooky on Instagram so I can see your fabulous makes.
Gemma x
Other patterns you may like

